

FOOTBALL PASSING DRILLS FOR YOUNG PLAYERS: ACCURACY, MOVEMENT AND DECISION-MAKING
Passing is the skill young footballers use more than any other in a match. Every pass is a small decision: who to play to, when to release it, how hard to strike it and where to move next.
Good passing comes from accurate striking, a good first touch, clever movement and quick decisions working together. This guide brings those together in a set of football passing drills for young players, organised from simple technical practices to match-like pressure, with age guidance, coaching points and ways to measure improvement.
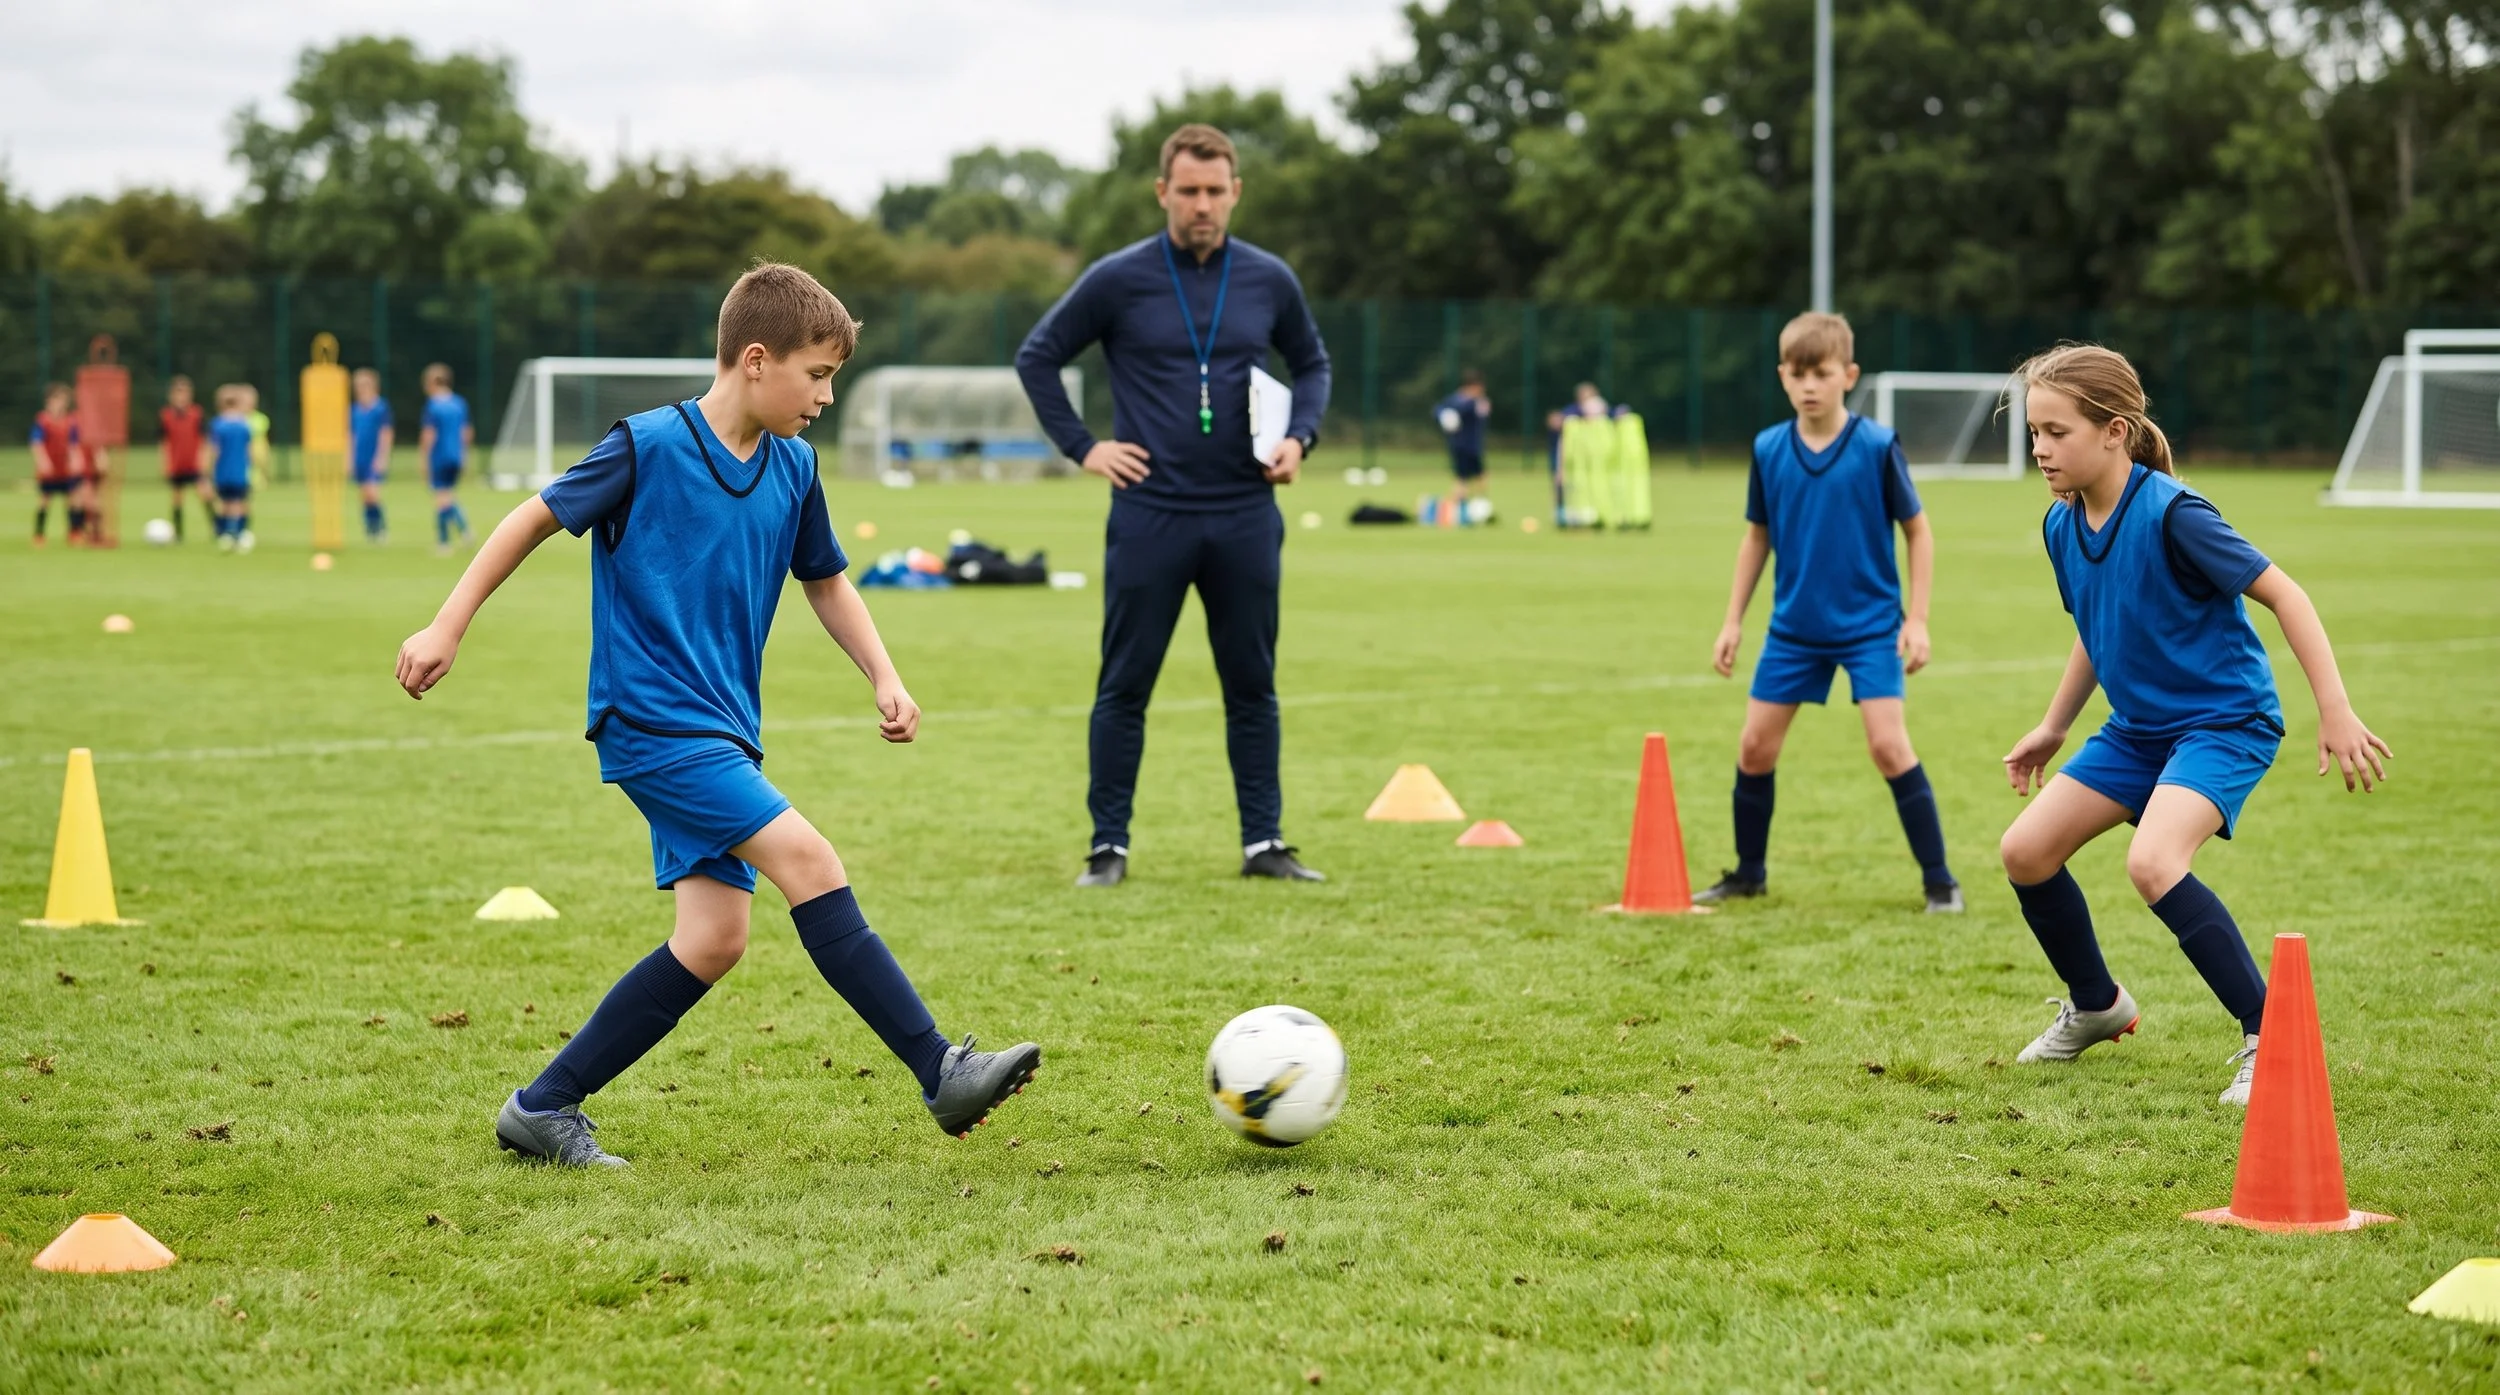
What Makes a Good Pass?
A good pass has four qualities. It is accurate, arriving where the receiver wants it, usually on their front or back foot rather than straight at them. It has the right weight, firm enough to beat an opponent but soft enough to control. It is well timed, released at the moment the receiver is ready and before a defender can close the space. And it is the right choice, made after the passer has looked at the options available.
Most passes in youth football are short passes with the inside of the foot. The standing foot should be planted beside the ball and pointing towards the target, with the ankle of the passing foot locked and the toe slightly raised. Contact is made through the middle of the ball with the inside of the foot, followed by a smooth follow-through towards the target. Longer driven and lofted passes are covered in the long passing drills below.
How to Use These Drills: From Unopposed to Match-Like Pressure
The most effective passing practice follows a clear progression. Players first learn the technique without opposition, so they can focus on how they strike and receive the ball. Next, a passive defender is added, who moves to block passing lanes but doesn't try to win the ball. Then the defender becomes active and competes for possession. Finally, the skill is tested in a small-sided game with a condition that rewards good passing.
Moving through these stages too quickly leads to poor technique, while staying unopposed for too long produces players who pass well in training but struggle in matches. A good rule is to progress once players succeed about seven or eight times out of ten.
The table below gives a starting point for adapting the drills by age.
| Age group | Typical passing distance | Touch limit | When to add pressure |
| U9 to U11 | 5 to 10 metres | Unlimited or three touches | Passive defenders once technique is secure; keep most practices fun and game-based |
| U12 to U14 | 8 to 15 metres, with some longer passing | Two touches, progressing to one | Active defenders and small-sided games with conditions |
| U15 to U18 | 10 to 30 metres or more | One or two touches at match tempo | Most practices opposed and played at match speed |
A starting guide only. Adapt to your players' ability, experience and stage of development.
Before any session, players need a structured warm-up. Our guide to Football Fitness Training for Young Players Preparing for Academy Trials covers warm-ups and physical preparation, so this guide focuses purely on passing.
Accuracy and Weight of Pass Drills
Gate passing
Set-up: Place several small gates, made from two cones about one metre apart, randomly across an area roughly 20 by 20 metres. Players work in pairs with one ball.
How it works: Pairs move around the area, passing to each other through as many different gates as possible in one minute. The receiver must move to a new position on the other side of a gate before the pass arrives, so both players are always working.
Progression: Narrow the gates to improve accuracy, limit players to two touches and then one, or require passes with the weaker foot. For older players, add two or three defenders who try to block the gates.
Coaching points: Look for a firm, accurate pass along the ground, the passer's head up to spot an open gate, and the receiver moving to create an angle rather than waiting.
One-touch and two-touch passing
Set-up: Two players stand 8 to 12 metres apart, depending on age, with a small gate in the middle.
How it works: Players start with two-touch passing: control the ball with one touch, then pass with the second. Once that is consistent, progress to one-touch passing, where the ball is passed first time.
Coaching points: Two-touch passing gives players time to control the ball and set up the next pass, which suits younger players and situations where there is space. One-touch passing speeds up play and is useful under pressure, but it depends on good preparation, with the body and feet set before the ball arrives.
Wall passing at home
Set-up: A wall, a rebounder or a garage door, and a ball. Mark a target area on the wall with chalk or tape if possible.
How it works: Players pass against the wall and control the rebound, alternating feet. Start with ten passes with each foot from five metres, then move further back.
Progression: Pass first time without controlling the rebound, aim for smaller targets, or control with one foot and pass with the other.
Coaching points: Wall passing is one of the best ways to improve the weaker foot. Ten to fifteen minutes a few times a week with good technique is far more useful than long sessions where technique slips.
Receiving and First Touch Drills
Receiving on the half-turn
Set-up: Three players in a line, about ten metres apart. The middle player is the receiver.
How it works: An end player passes to the middle player, who receives on the half-turn, with their body side-on, so they can see both ends. They control the ball with the foot furthest from the passer, known as the back foot, and pass to the player at the other end. The middle player then turns to face the new passer, and the drill continues.
Progression: Add a passive defender behind the receiver, then an active one, or ask the receiver to pass with one touch.
Coaching points: Receiving on the half-turn allows a player to see more of the pitch and play forward quickly. Look for an open body shape, the first touch taken across the body and away from pressure, and the receiver checking over their shoulder before the ball arrives.

Pass and Move Drills
Triangle passing
Set-up: Three cones in a triangle, about 10 metres apart, with one player on two of the cones and two players on the third.
How it works: A player passes to the next cone and follows their pass to that cone. The receiver controls and passes on to the next cone, then follows their pass, and the pattern continues around the triangle.
Progression: Restrict players to one touch, reverse the direction, or remove the cones so players must create the triangle themselves by moving into space.
Coaching points: Triangles are the foundation of good team passing because they create two passing options for the player on the ball. Encourage players to move to create a clear angle, so a defender cannot block the pass, and to receive with their body open to the next pass.
Give-and-go (one-two)
Set-up: A channel about 20 metres long. A player with the ball starts at one end, and a partner stands halfway down the side of the channel.
How it works: The player passes to their partner and immediately runs forward. The partner returns the pass first time into the runner's path, and the runner continues to the end of the channel.
Coaching points: The key is the movement after the pass. Players who stand still after passing become easy to mark, while players who move straight away create a new option. Look for a well-timed run and a return pass weighted into space, not to feet.

Long Passing Drills
Driven and lofted passing to a target zone
Set-up: Two players stand 20 to 30 metres apart, each with a target zone of about five by five metres around them. For lofted passes, place a line of cones or a mannequin halfway between them.
How it works: Players take turns to play a driven pass into their partner's zone, where the receiver must control the ball before returning it. Once that is consistent, they switch to lofted passes over the barrier.
Coaching points: For a driven pass, the standing foot is beside the ball and contact is made with the laces through the middle of the ball, with the body over it to keep the pass low. For a lofted pass, the standing foot is slightly further back and contact is lower on the ball. A long pass is the right choice when it can switch play or find a teammate in space behind the defence, while a short pass is usually safer when the long option is crowded. Younger players should spend most of their time on short passing and build up long passing gradually as they get stronger.

Your future
starts
here
REGISTER
Decision-Making Drills Under Pressure
Scanning drill
Set-up: A coach stands behind a receiver, holding coloured cones or bibs. A passer stands about ten metres in front of the receiver.
How it works: As the pass is played, the coach holds up a colour. The receiver must look over their shoulder, see the colour and call it out before receiving the ball, then turn towards a matching coloured gate and pass through it.
Progression: Replace the coach with a defender, so the receiver must decide whether to turn or play back.
Coaching points: Scanning means looking around before receiving the ball, so a player already knows what they will do with it. Players who scan regularly make quicker and better decisions under pressure. Encourage short, frequent looks, especially just before the ball arrives.
3v1 and 4v1 rondo
Set-up: A square of about 10 by 10 metres for younger players, or slightly smaller for older players. Three or four players stand around the outside of the square with one defender in the middle.
How it works: The outside players try to keep the ball away from the defender by passing around the square. If the defender wins the ball, they swap with the player who lost it.
Progression: Limit touches, make the square smaller, or add a second defender.
Coaching points: Rondos combine passing, receiving, movement and decision-making in one practice. Look for players moving to create a clear angle, receiving on the half-turn and choosing the right moment to pass. We cover larger possession practices in more detail in our upcoming guide to Football Possession Drills.

Passing to feet or into space
Set-up: An area of about 30 by 20 metres, with a small-sided game such as 4v4.
How it works: Play a normal game with a condition that rewards good passing. For example, a goal only counts if the team has made a set number of passes first, or if the final pass was a one-touch pass.
Coaching points: Help players recognise when to pass to a teammate's feet and when to play the ball into space for them to run onto. A pass to feet is usually safer when a teammate is marked and needs to keep the ball. A pass into space is more effective when a teammate is moving and there is room behind or beside the defender.
Coaching Points and Common Passing Mistakes
Most passing problems in young players come from a small number of habits. The table below sets out the most common ones and how to fix them.
| Mistake | What it looks like | How to fix it |
| Closed body shape | The player receives facing the passer and has to turn before seeing the next option | Practise receiving on the half-turn and with the back foot |
| Not looking up | The player looks at the ball and only sees options after receiving it | Add scanning tasks and reward players who check their shoulder |
| Wrong weight of pass | Passes are too soft and intercepted, or too hard to control | Use gate passing and target zones, and vary distances |
| Standing still after passing | The passer watches the ball and becomes easy to mark | Use pass-and-move drills where players must follow their pass |
| Relying on one foot | The player always shifts the ball onto their stronger foot, slowing play | Set weaker-foot targets and use wall passing at home |
When giving feedback, keep it short, specific and positive. One clear coaching point, such as "open your body before the ball arrives", is easier to act on than a long list. Asking questions, such as "what did you see before you received the ball?", also helps young players think for themselves.
How to Measure Passing Improvement
Completed-pass totals only tell part of the story, because a player who only plays safe sideways passes can complete every one. A more useful picture includes the quality of each pass as well as the outcome.
Coaches and parents can track a few simple measures over time: accuracy into a target zone from different distances, passing with both feet, how often the player scans before receiving, whether they choose forward passes when they are on, and how quickly they release the ball. Filming short sections of training every few weeks is an easy way to see progress.
How AF Global Develops Passing
At AF Global, passing and receiving are built into players' weekly training with UEFA-licensed coaches, alongside technical, tactical and physical development. Sessions progress from technical practice to realistic, opposed situations, so players learn to pass well under the pressure of a real match.
Technology also helps players understand their own game. Through our partnership with Playermaker, players can see data on their touches and how they use each foot, and our work with The Edge in Sport uses video analysis to review decisions and movement.
If you'd like your child to develop their passing in an elite football and education environment, register your interest and our team will be in touch.
Final Thoughts
The best passing drills for young players develop accuracy, weight of pass, an open body shape, movement after passing and good decisions under pressure. Start simple, progress to realistic pressure once players are succeeding, keep feedback short, and practise regularly on the weaker foot. When you're ready to take the next step, register with AF Global.
Frequently Asked Questions
-
Gate passing, partner passing, triangle passing and give-and-go drills build technique and movement without too much pressure. As players improve, rondos and small-sided games with passing conditions add realistic decision-making.
-
Practise with targets such as gates or zones, start at shorter distances and increase them gradually, and focus on technique: standing foot beside the ball, ankle locked and a smooth follow-through. Regular wall passing with both feet also helps.
-
Two-touch passing gives players time to control the ball and set up the next pass, so it suits situations with space. One-touch passing speeds up play and helps under pressure, but it relies on good preparation and scanning before the ball arrives.
-
Moving to create a clear angle gives the player on the ball a safe passing option that a defender cannot easily block. Receiving with an open body shape then allows the receiver to see the next pass and play forward quickly.
-
Progress drills from unopposed to passive and then active defenders, and finish with small-sided games that reward good passing. Scanning tasks and rondos are especially useful, because players must look, decide and act quickly.
-
Adjust passing distances, touch limits, area size and the number of defenders so players succeed most of the time but are still challenged. Keep feedback short and specific, focus on one coaching point at a time, and use questions to help players think for themselves.